Adding custom images for gamesUpdated 6 months ago
Polycade AGS automatically creates game tile images for all games in your library, but if you prefer to create your own, you can follow the instructions below (make sure AGS is closed while making these changes in Windows Explorer):
1. Open Windows Explorer (WindowsKey + E)
2. Navigate to:
C:\Users\[YOURUSERNAME]\AppData\Roaming\polycade\assets\
3. Open the folder that corresponds to the ROM’s system (i.e. for a “Super C” ROM, you’d open the “nes” folder)
4. Locate the folder that corresponds to the name of the game you would like to add or change the images for
5. The following images can be added or changed for any game. Note that each can be jpg or png:
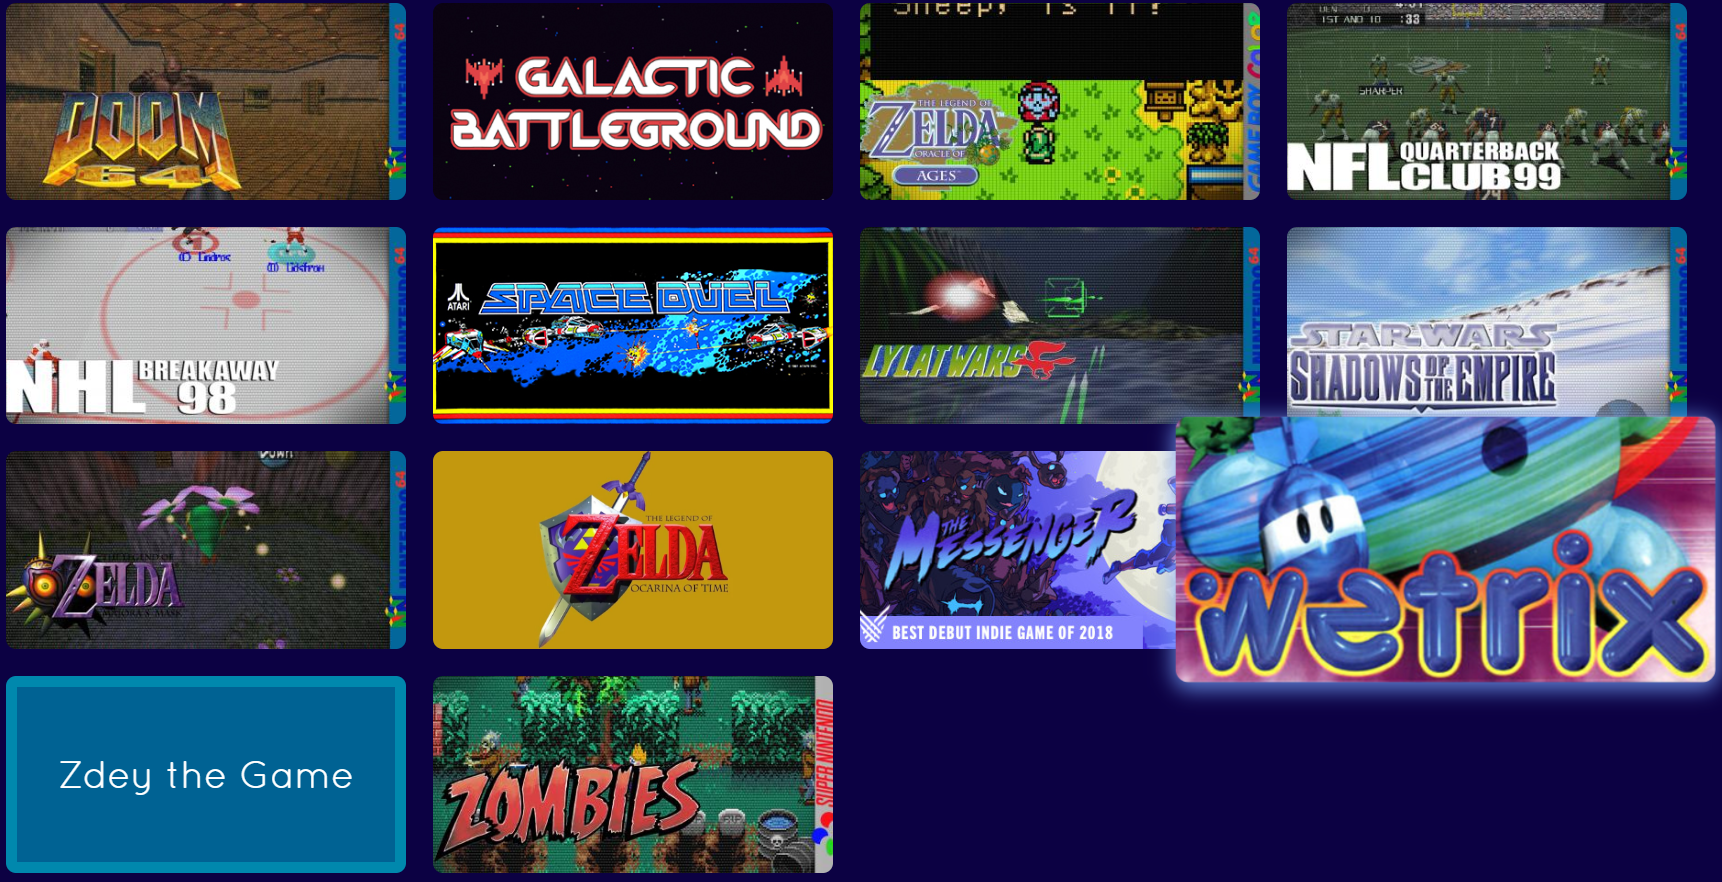
- header.jpg (460x215)
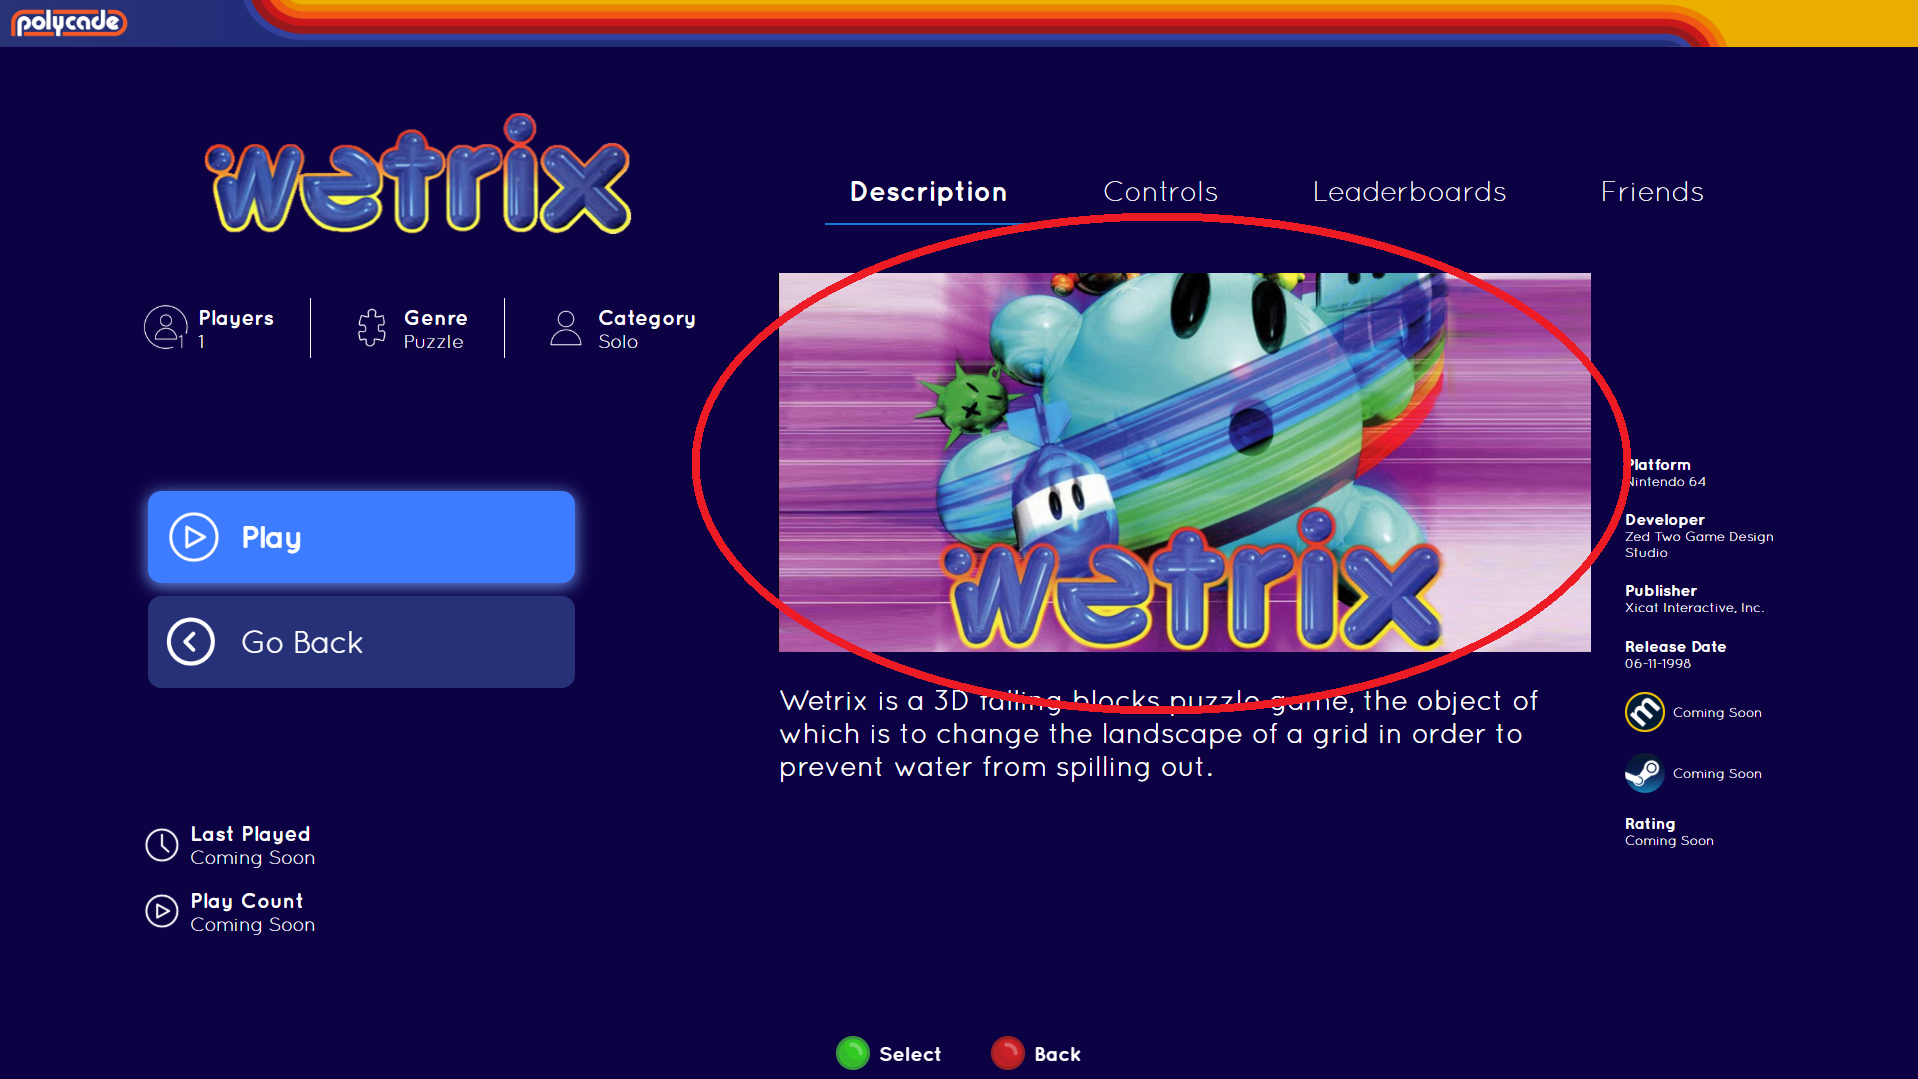
- hero.jpg (1200x675)
- logo.jpg (variable size)
- marquee.jpg (1920x360)
- instructions.png (1920x846)
Example Header images:
Example "hero" image:
Example "Logo" image:

6. The next time you launch the application, AGS should pick up the new image(s) for your ROM.